Blood Demon Arts
Tamari Demon Art
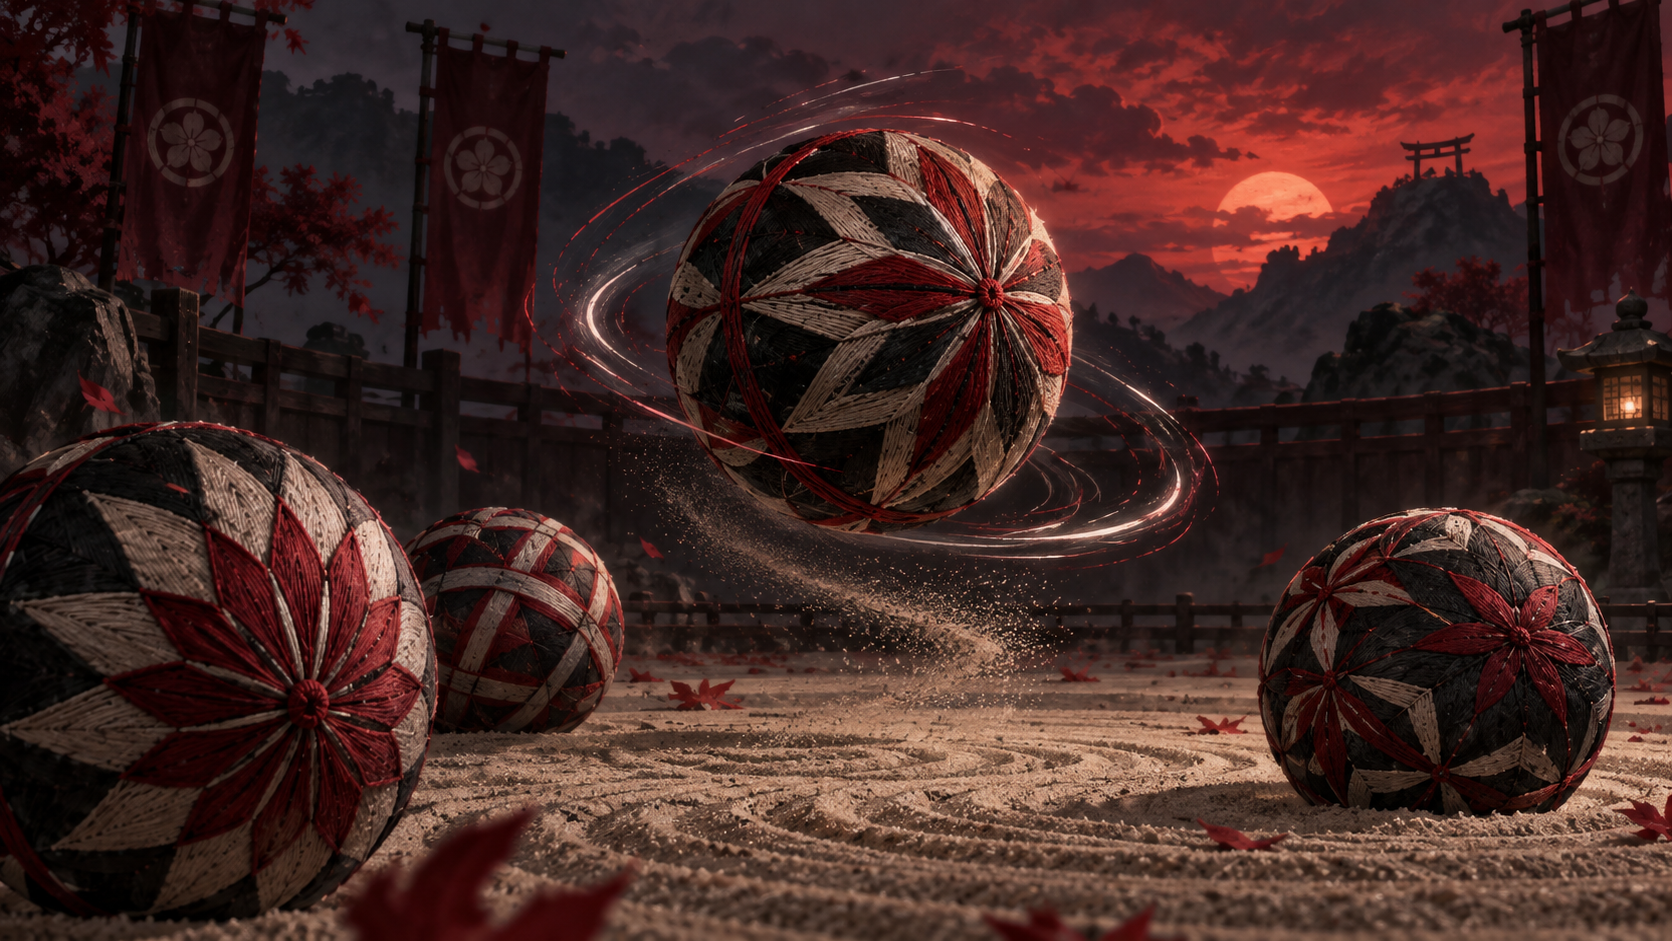
Tamari Demon Art uses thrown balls, a close follow-up kick and a cursor-directed aerial attack. The developer showcase names Spinning Throw, Tamari Dunk, Piercing Kick, Tamari Meteor and Spiraling Shot. Spinning Throw changes when you tap or hold its key, while Piercing Kick needs a landed kick before its second input can release the bouncing ball.
On this page
Check the Art and each learned node
First complete the Demon conversion route, then use the separate Blood Demon Art acquisition and training flow. Open your Art skill tree and confirm which Tamari moves you have actually learned before trying the inputs below.
The official video is a developer showcase. It demonstrates move behavior, but it does not establish every current skill-point cost, mastery gate, cooldown or damage value. Read those requirements in the live skill tree.
Spinning Throw: tap or hold
The two animations come from one named move. Practice a short tap and a deliberate hold separately to identify which version your hotbar input triggered.
| Input | Shown result | What to check |
|---|---|---|
| Tap | A direct Tamari throw; a hit applies a slow effect in the showcase. | Use a target at a clear distance and confirm the throw connects before relying on the slow. |
| Hold | A charged barrage of six balls followed by a final throw. | Give the sequence room to complete; do not mistake the first ball for the entire attack. |
Tamari Dunk: impact and delayed burst
The showcased character leaps and throws a Tamari downward. The impact leaves a crater and briefly stuns a target caught in the blast; the ball then explodes again. Watch for both events before moving into another action.
For practice, place a stationary target near the expected landing area and compare its position after the initial impact and the follow-up detonation. The showcase does not prove a universal stun duration.
Piercing Kick: land the kick before pressing again
The move begins with a jumping kick. If that kick connects, a second press throws a Tamari that bounces off the opponent and detonates on its third bounce.
Treat the second input as a conditional follow-up. If the opening kick misses, reposition rather than assuming the bouncing attack will still start. Check the target and the skill state before committing another move.
Tamari Meteor: choose the landing point
In the showcase, the user drives a Tamari into the ground, launches upward and drops toward the location of the cursor. The cursor position therefore matters before the descent, not only when the move first starts.
Practice on open ground: place the cursor over an obvious point, activate the move and compare the final landing position. Repeat with a moving target only after you can control the basic placement.
Spiraling Shot: a launched finisher
The developer demonstration shows the user forming a spinning Tamari, kicking it forward and lifting a target after contact before the explosion. This is a separate launched move, not the charged version of Spinning Throw.
Check that the target is in the projectile path. A dramatic animation does not establish that every opponent will be caught or that the move forms a guaranteed combo with the other Tamari skills.
A useful order for testing Tamari
- Identify your learned Tamari nodes and assigned hotbar keys.
- Test Spinning Throw with a tap, then with a full hold; note which one changes the target's movement.
- Use Tamari Dunk on a predictable target and wait for the second burst.
- Try Piercing Kick only at a range where its opening kick can land, then test the follow-up press.
- Place Tamari Meteor with the cursor and test Spiraling Shot's projectile path separately.
- Before combining moves, check cooldowns, resources and whether the opponent can leave the sequence in your current game version.
Continue your journey
Find more guides in the Slayers 2 Wiki & Database.